This comprehensive tutorial guides you through the Gen Space page, where you’ll generate shot element images, iterate with reference images, and apply polished results to your project.
1. What is Gen Space?
Gen Space is your creative workbench for generating and refining shot element images. Think of it as your AI-powered art studio where you can create, iterate, and perfect visual assets for characters, scenes, and props.
When Should You Use Gen Space?
Gen Space is ideal for:
- First-time creation: Generate the initial visual asset for any character, scene, or prop
- Style consistency: Maintain uniform visual style across multiple shots using reference images
- Image refinement: Quickly regenerate or improve unsatisfactory images
- Creative iteration: Use existing assets as references to generate new perspectives or compositions
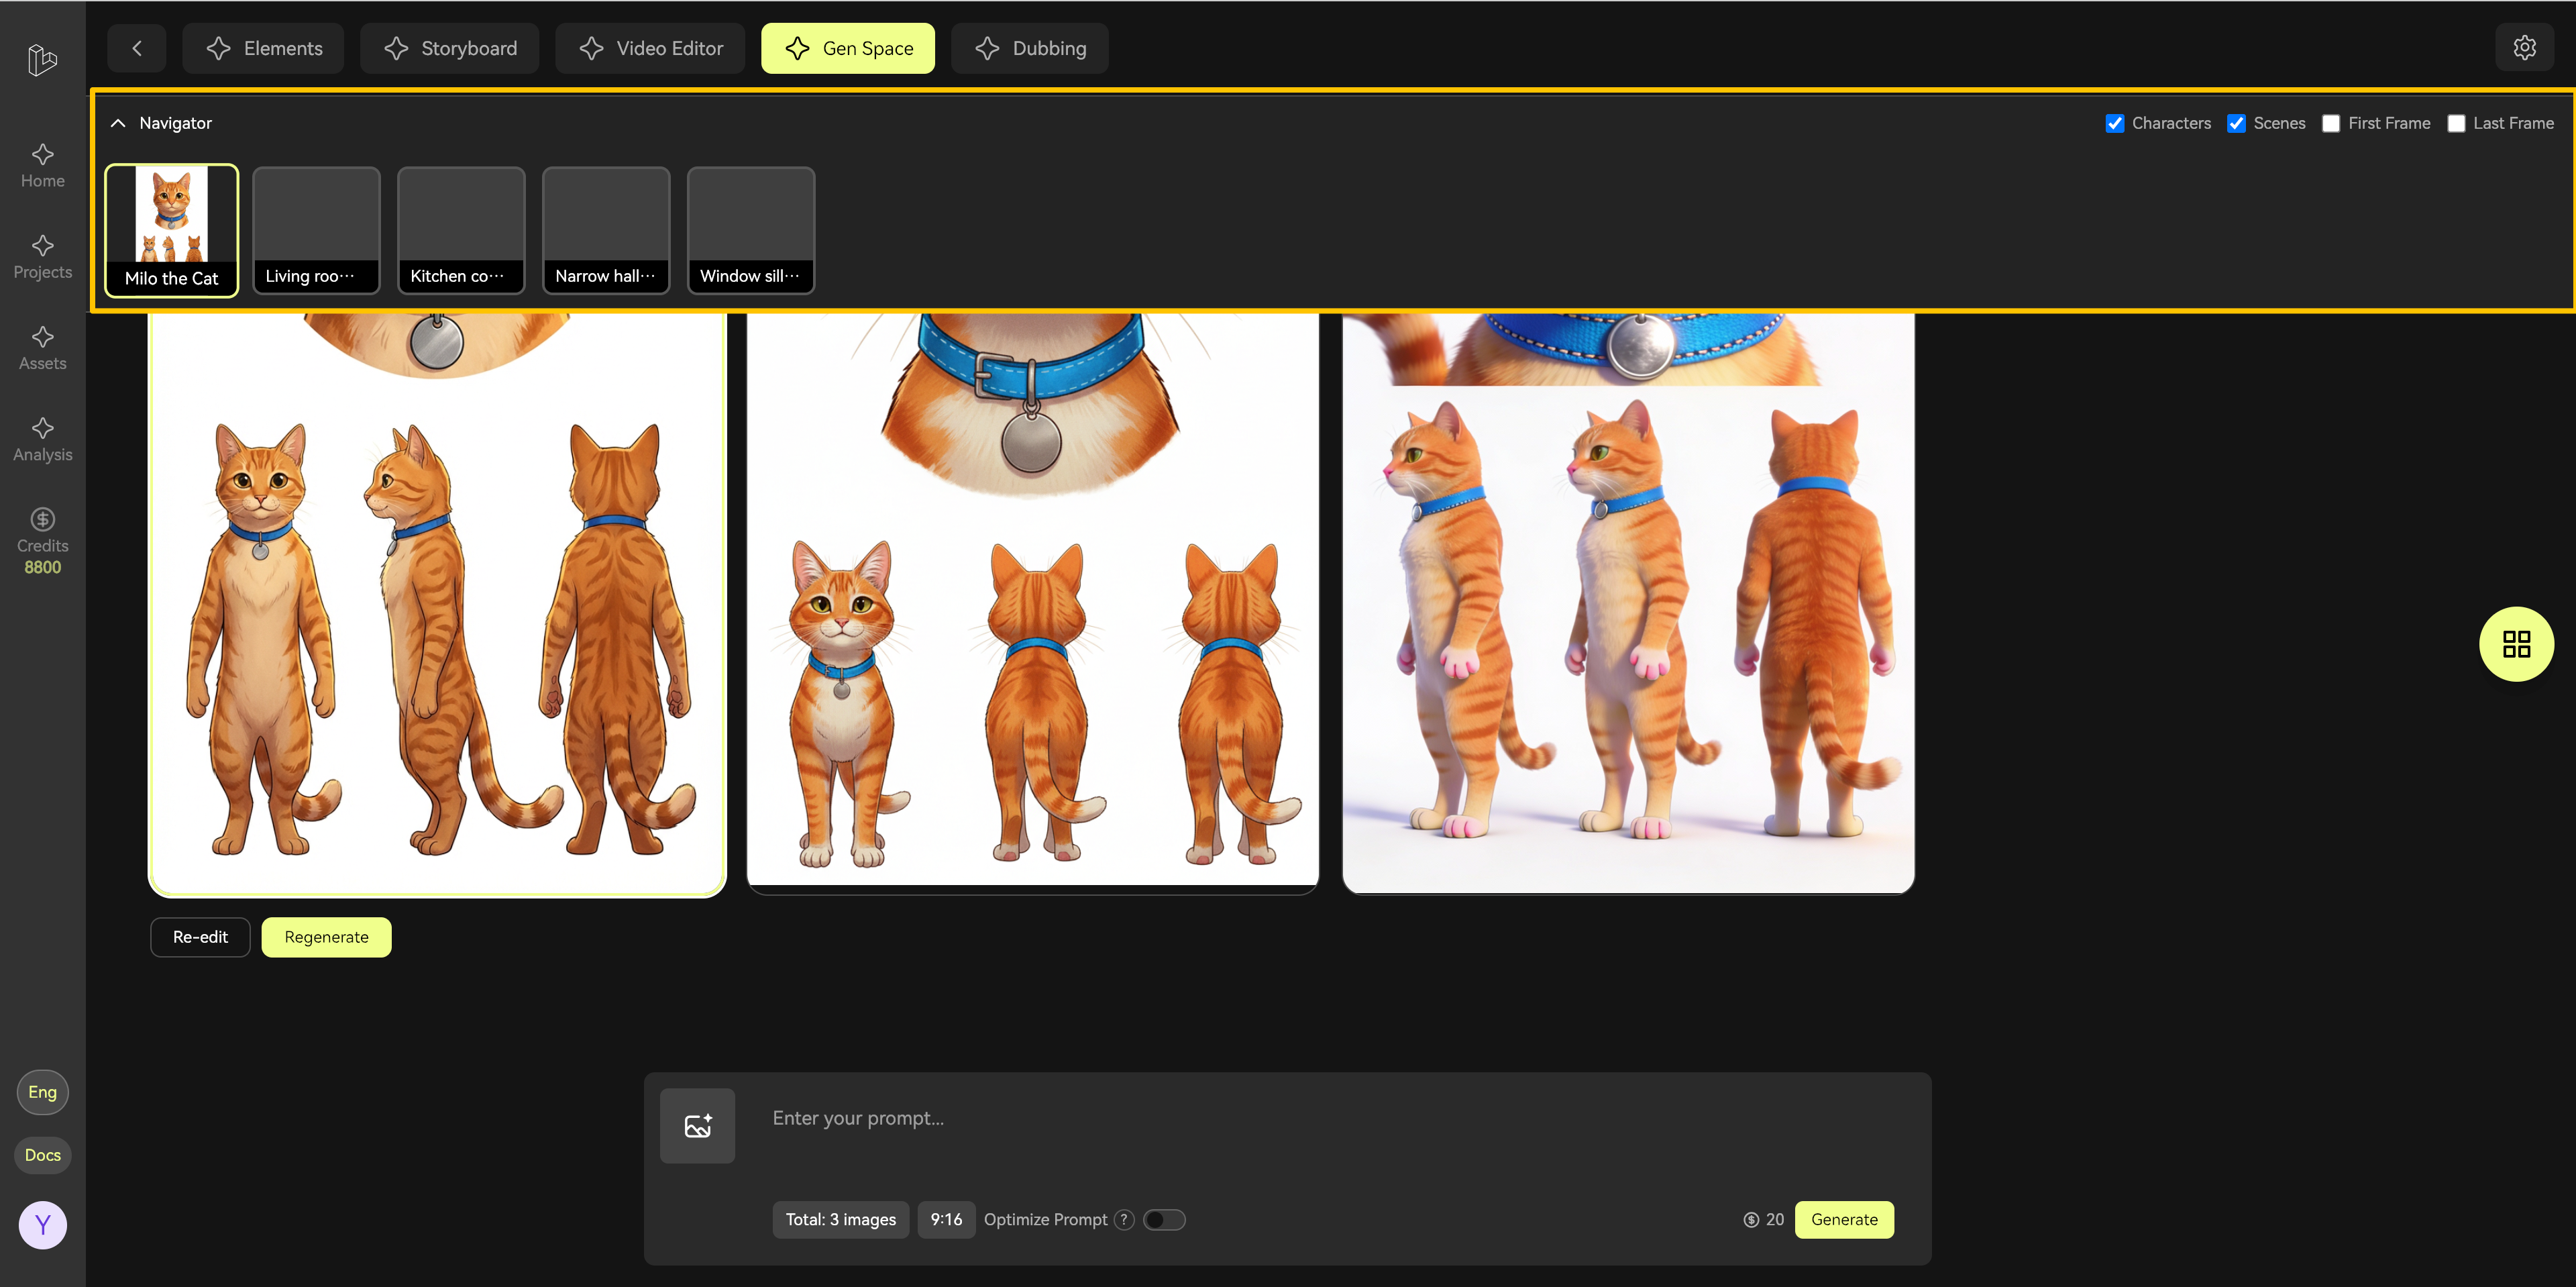
2. Understanding the Layout
After entering a project, navigate to the Gen Space page. The interface is organized into three main areas:
Page Structure at a Glance
Think of Gen Space as “3 Areas + 1 Generation Flow”:
- Top Navigation Area: Select the shot element you want to generate
- Bottom Generation Settings: Choose AI model, enter prompts, add reference images
- Middle Results & Assets Area: View generation results and access your asset library
- Generation Flow: Select shot → Configure settings → Generate → Apply to shot
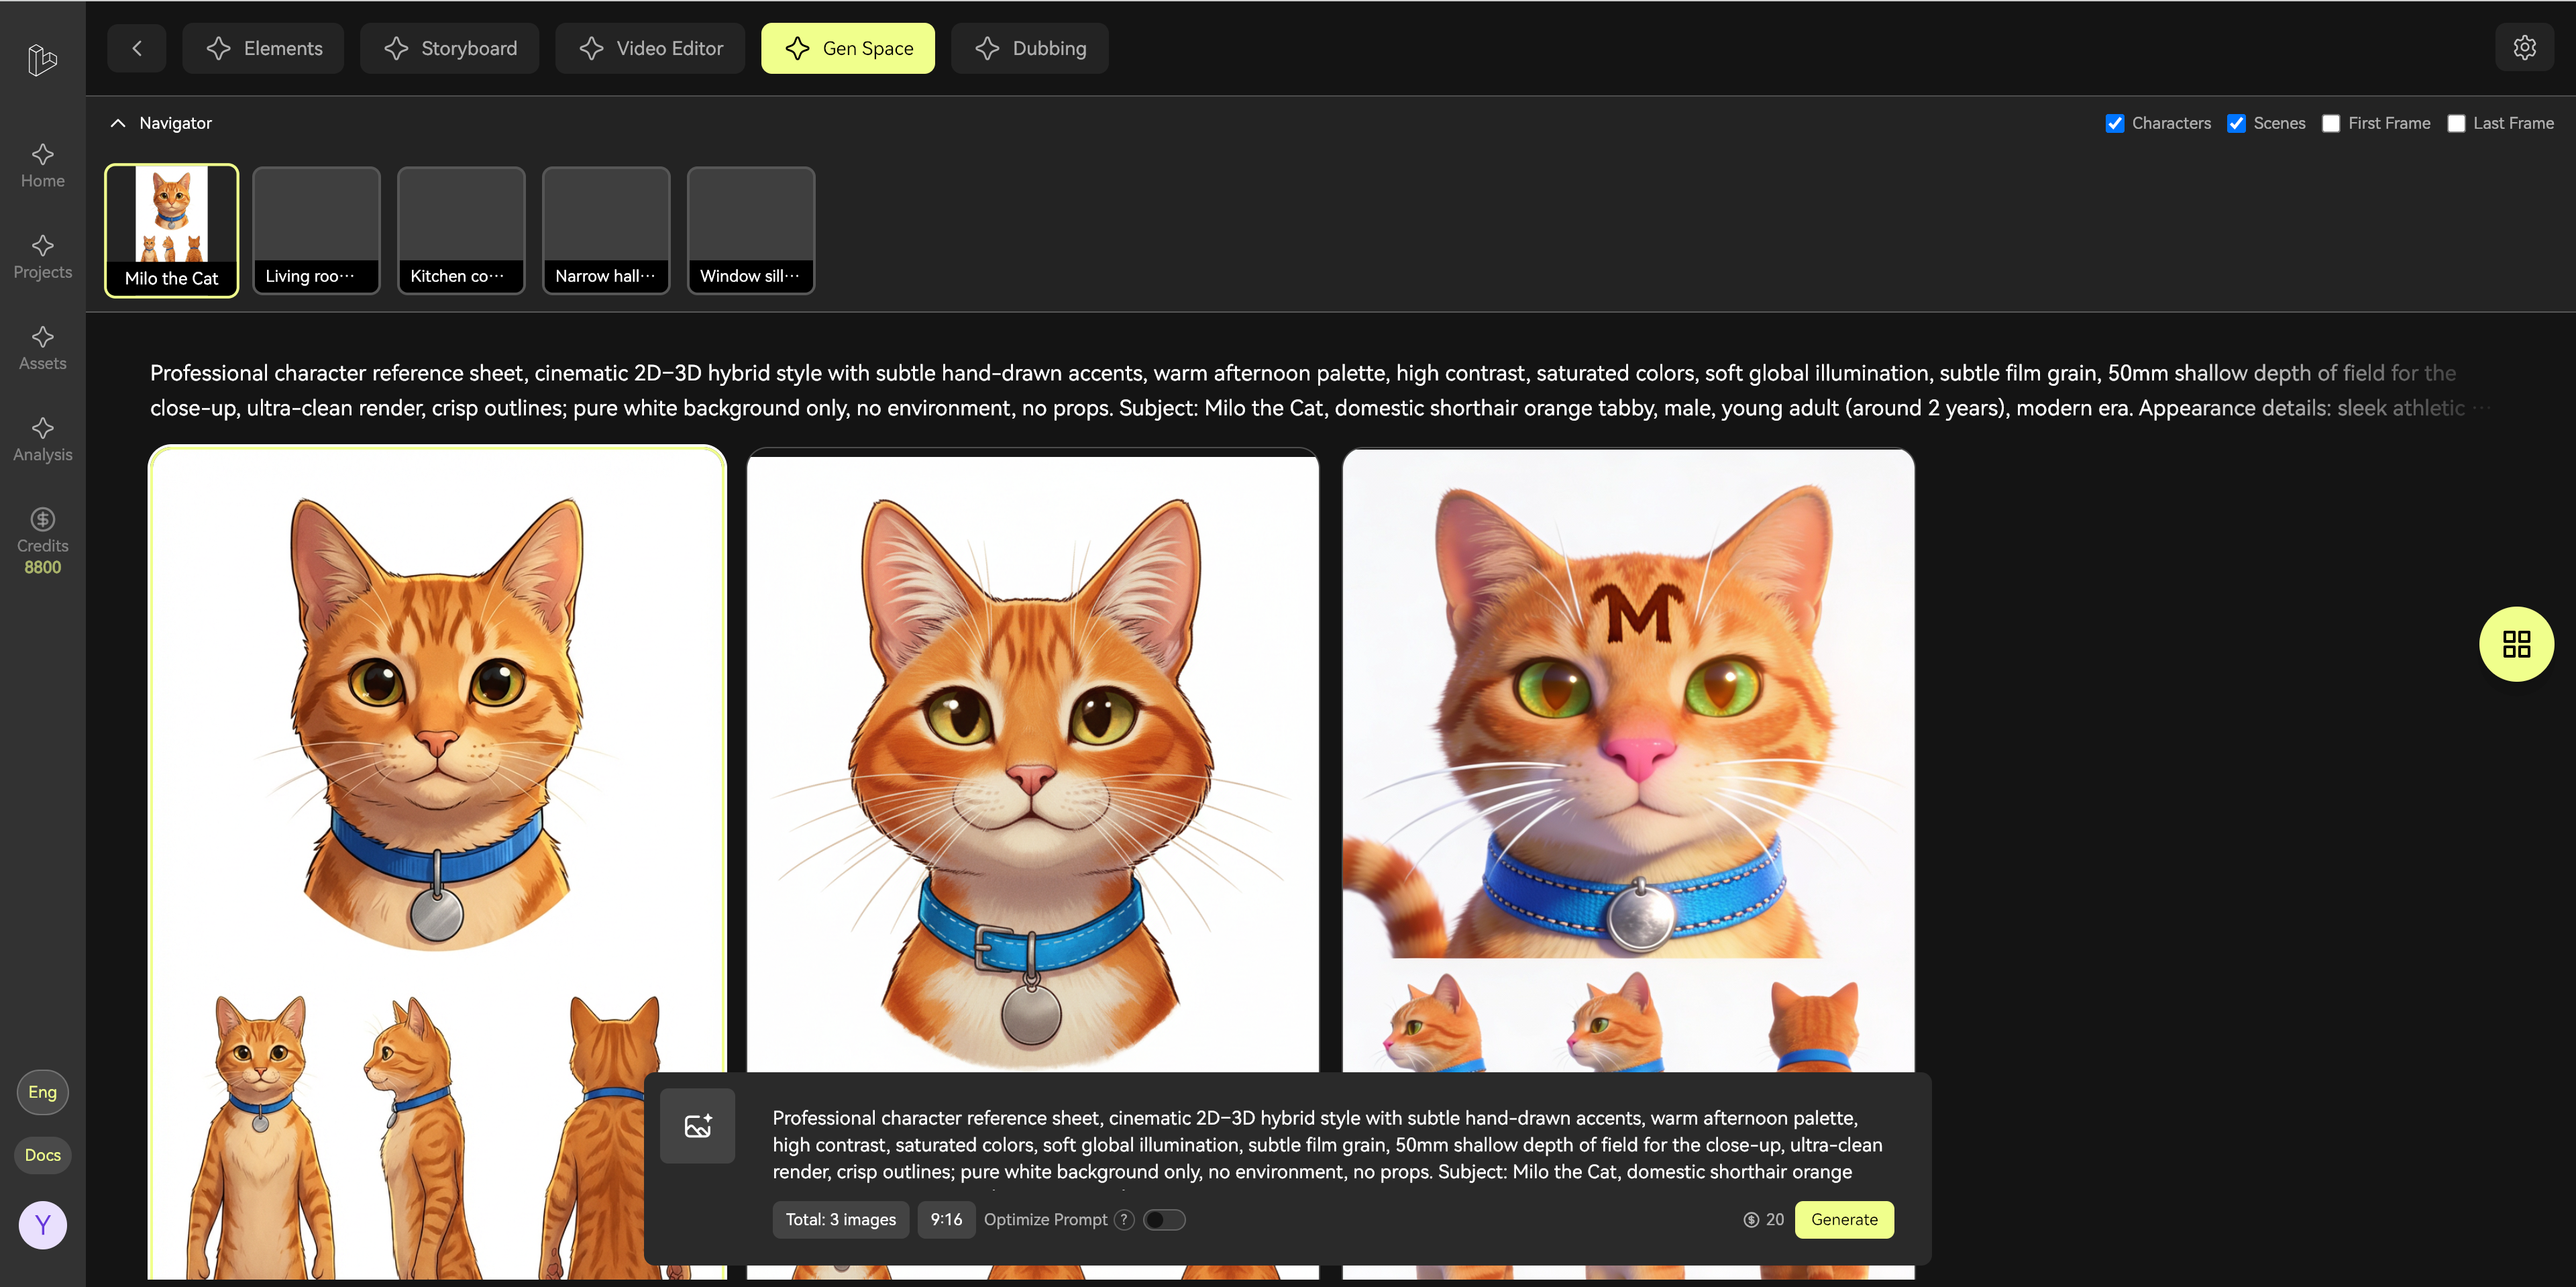
3. Selecting Shot Elements
In the left navigation area, click the shot card you want to work on. Each card represents a story element (character, scene, or prop). All generation operations apply to the currently selected shot.
3.1 Quick Filtering
When working with many shots, use the filter in the top-right corner to quickly locate specific element types:

Filter Options:
- Characters
- Scenes
- Props
4. Configuring Generation Settings
4.1 Choose Your AI Model
In the generation settings area, select the AI model that best fits your creative vision. Different models offer distinct artistic styles and characteristics.
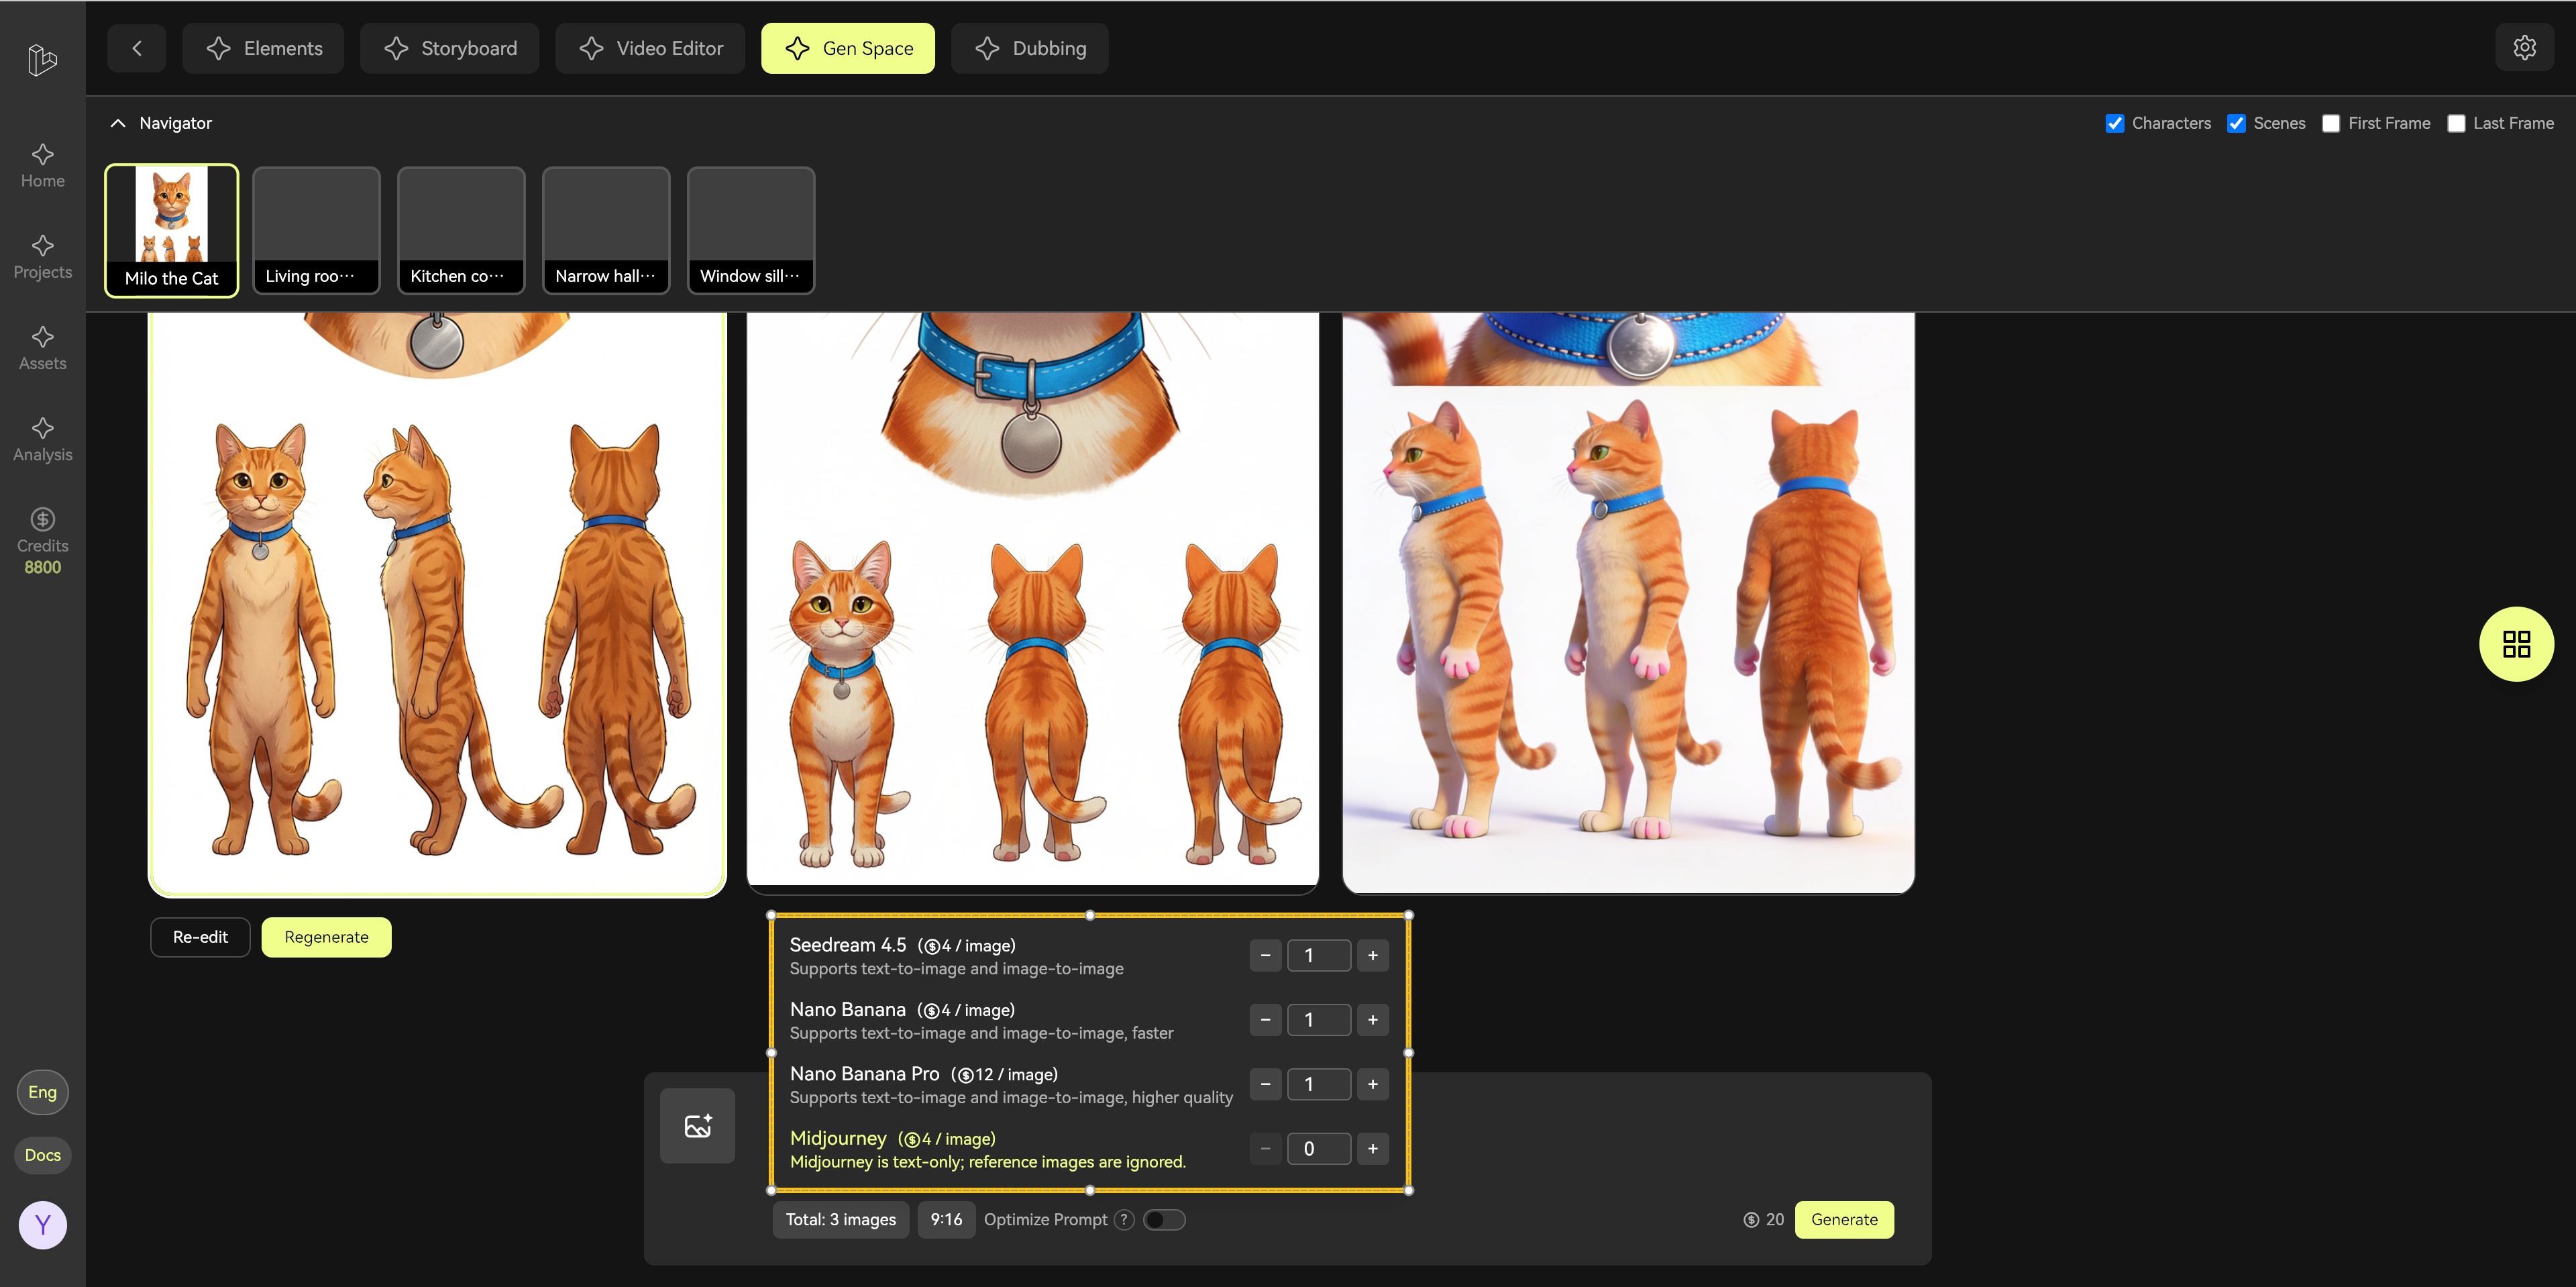
Tips for Model Selection:
- Experiment with different models to find your preferred style
- Some models excel at photorealism, others at artistic styles
- Set the number of images to generate (more options = better selection)
4.2 Crafting Effective Prompts
Describe your desired image in the prompt input box. The quality of your prompt directly impacts the generation results.
Prompt Best Practices:
- Be specific and descriptive
- Include details about style, mood, lighting, and composition
- Use clear, concrete language
- Example: “A cheerful young girl with curly brown hair, wearing a red dress, standing in a sunny garden with colorful flowers”
5. Working with Reference Images
Reference images help guide the AI to match your desired style or character appearance more closely.
5.1 Adding Reference Images
- Click the Asset Library button to open your library
- Browse and select images from your collection
- Click to add selected images as references
- You can add up to 6 reference images per generation
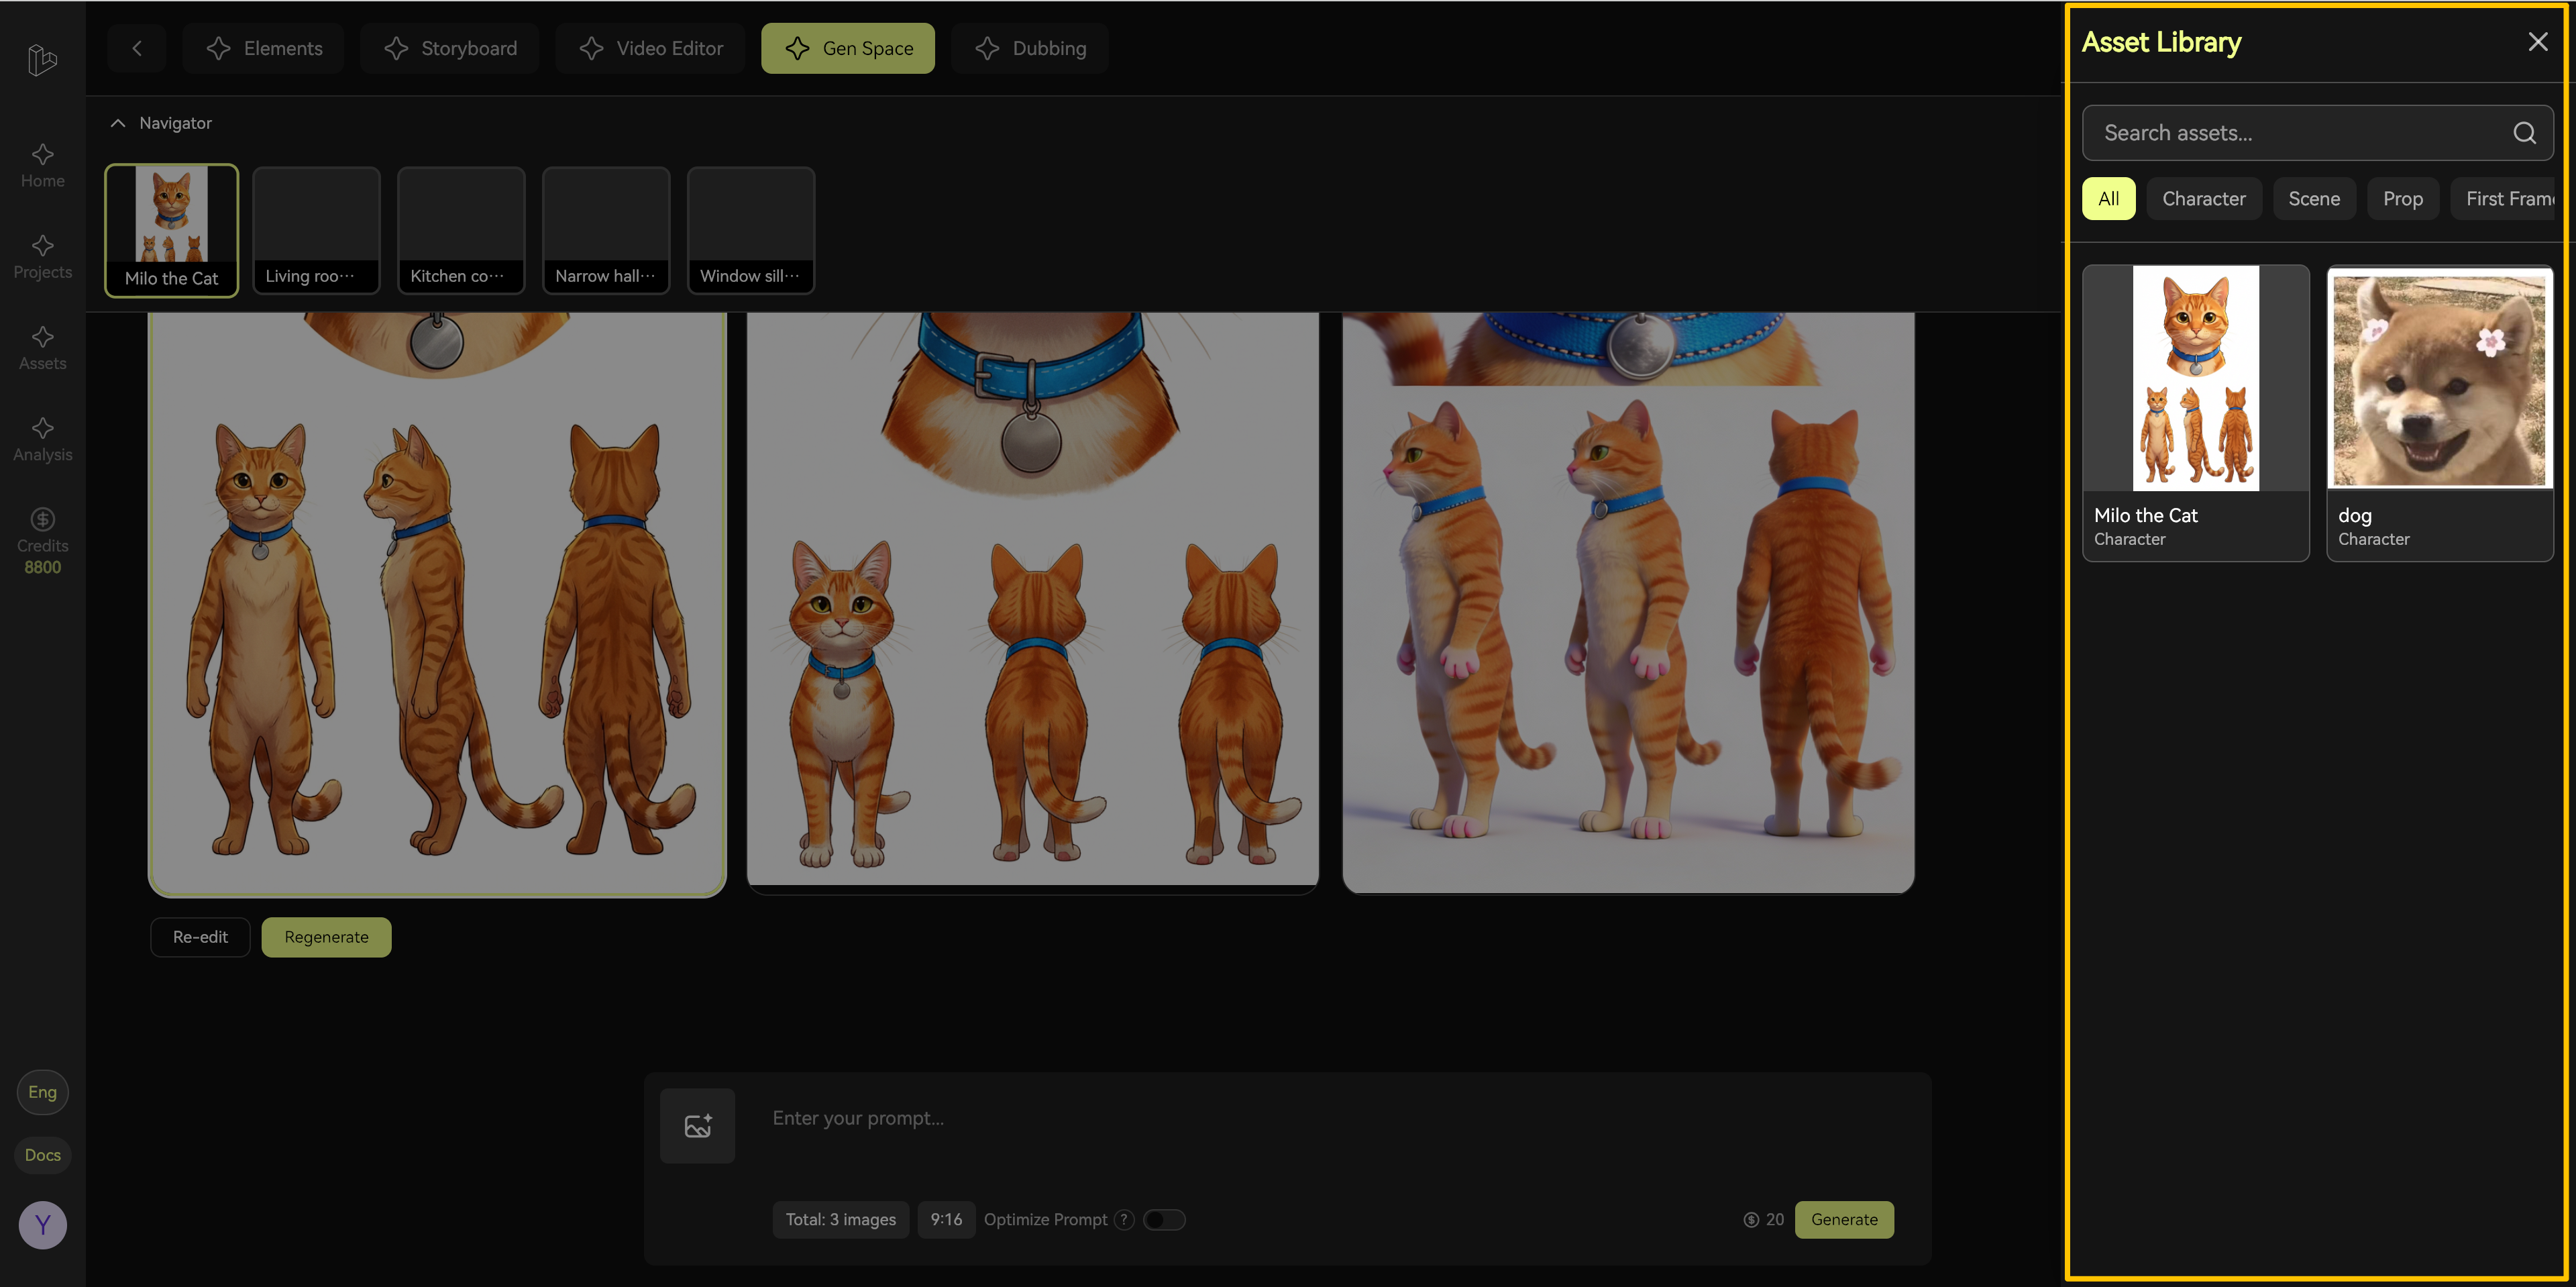
Reference Image Tips:
- Use images with similar style or composition to your target
- More references = stronger style guidance
- Mix and match references for unique combinations
6. Reviewing Generation Results
After generation completes, multiple images appear in the results area. Hover over any image to reveal available actions.
6.1 Iterative Refinement
Found a result that’s close but not perfect? Use it to iterate:
- Hover over the image
- Click “Use as reference image”
- The image is added to your reference list
- Generate again with refined prompts
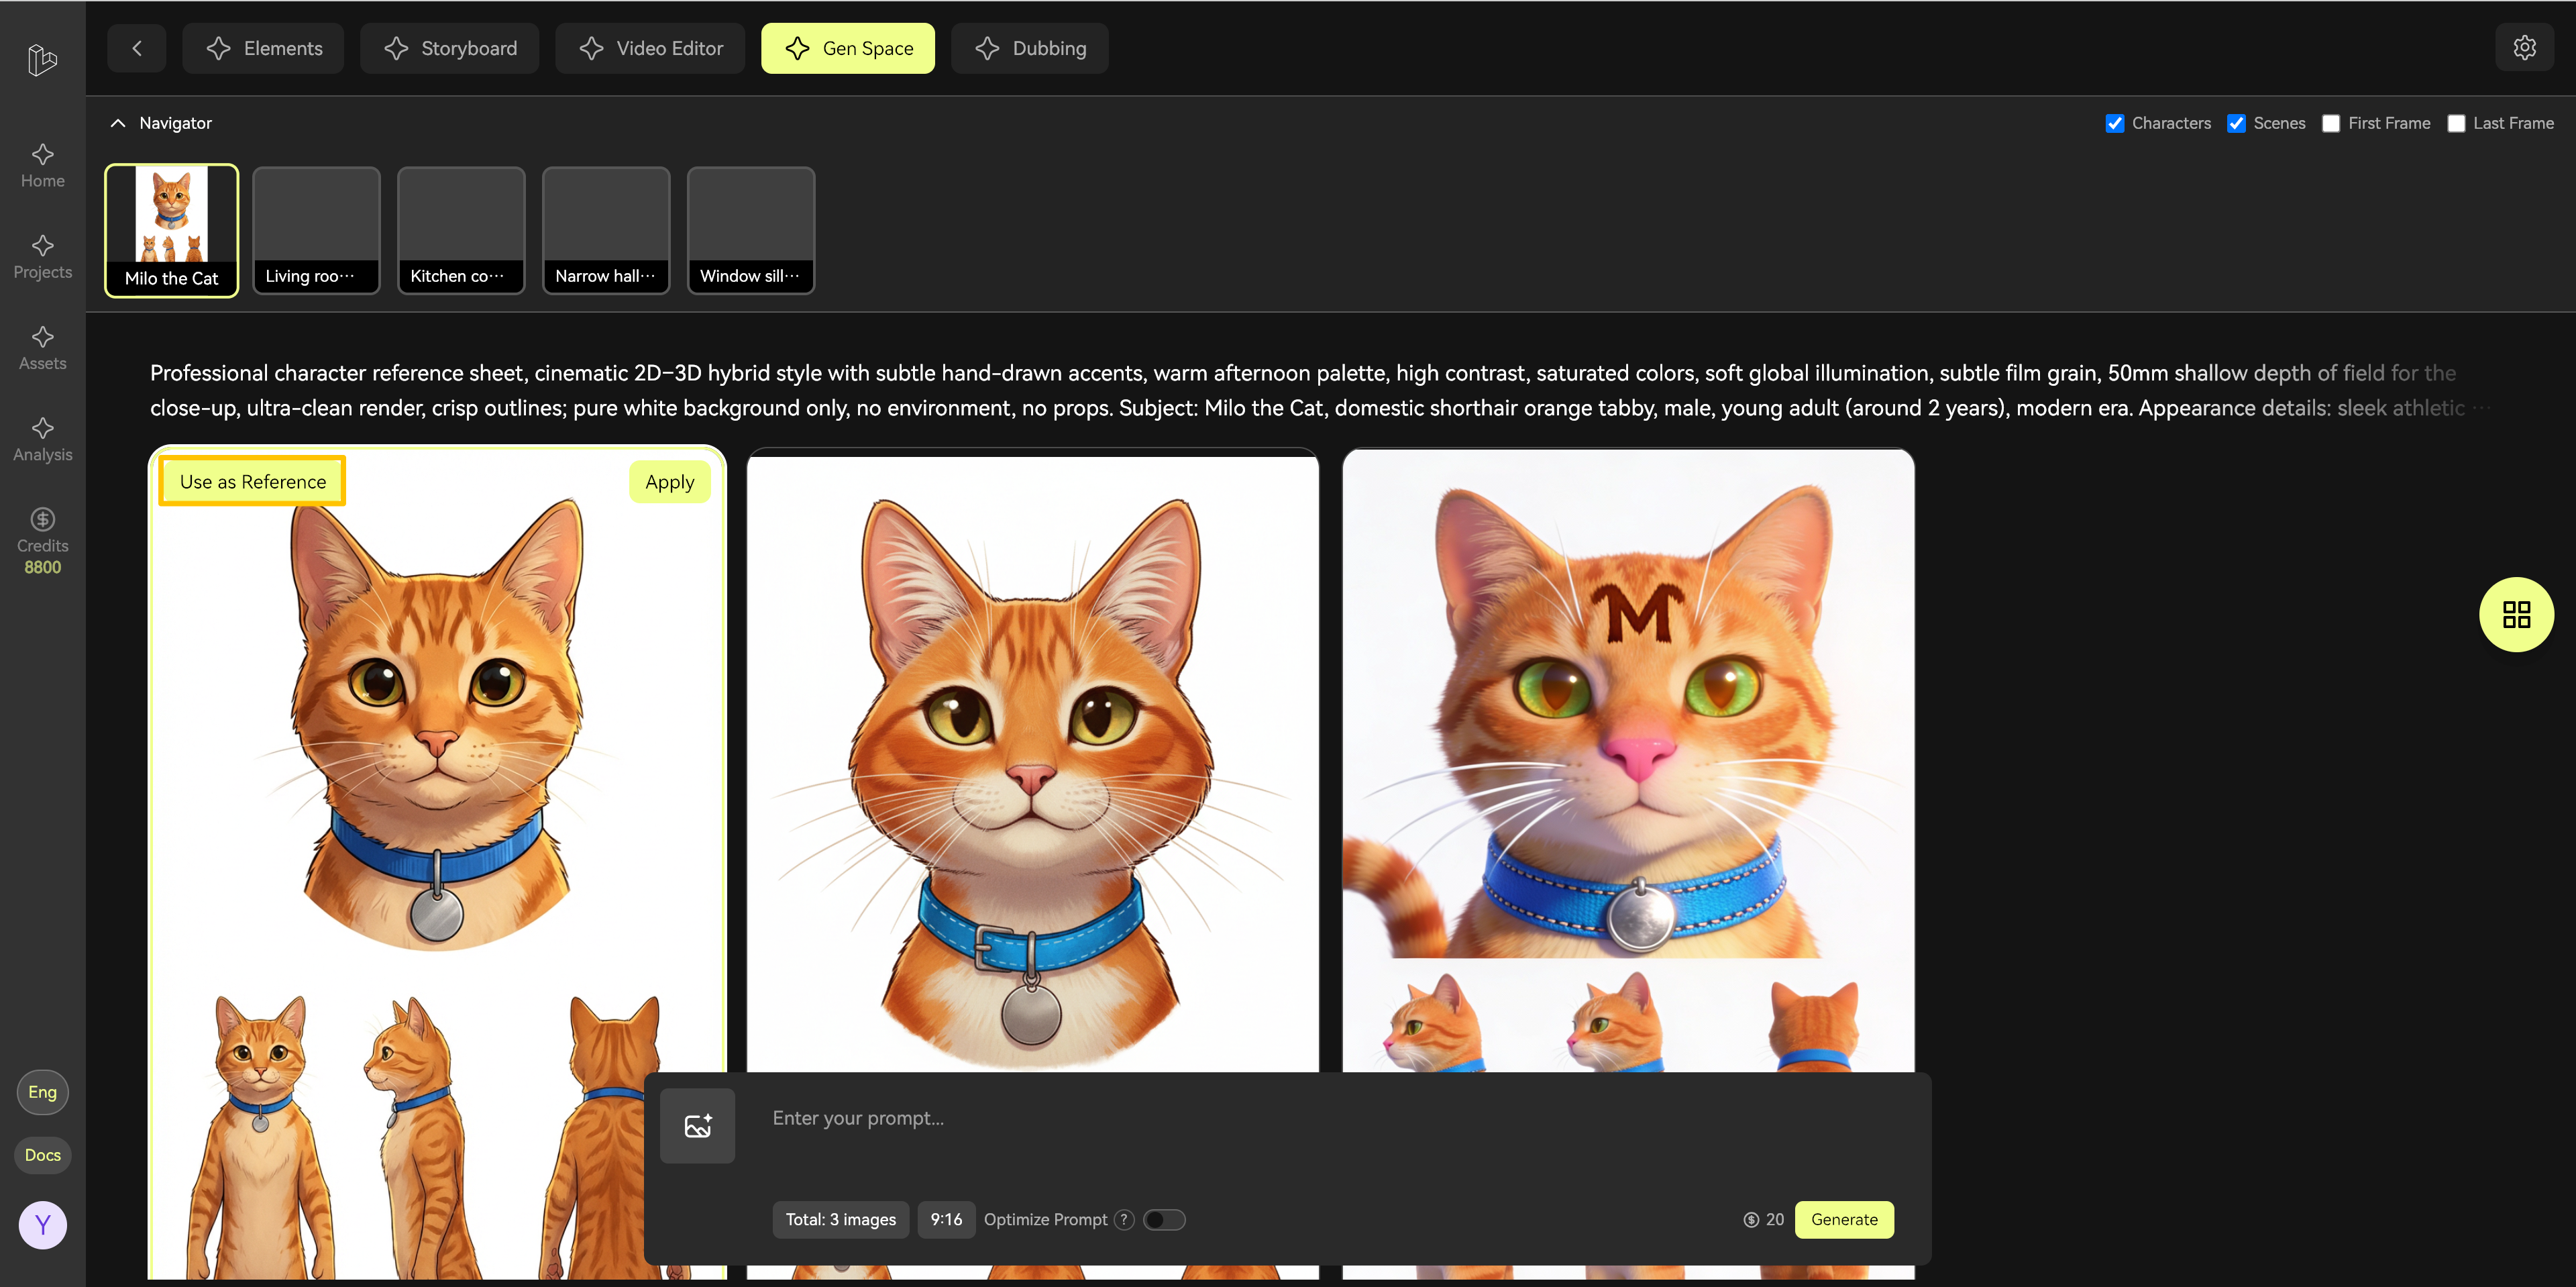
6.2 Applying Results
When you’re satisfied with an image:
- Hover over the image
- Click “Apply to shot”
- The image is applied to the currently selected shot element

7. Additional Actions
Click any image to expand the full action menu, where you can:
- Edit the image further
- Download the image
- Delete unwanted results
- View image details

8. Common Workflows
Here are proven workflows to help you work efficiently:
8.1 Creating New Shot Elements
Quick Start Flow:
- Select target shot
- Enter descriptive prompt
- Generate images
- Apply best result to shot
8.2 Improving Existing Images
Iterative Refinement Flow:
- Add current image as reference
- Adjust prompt for improvements
- Generate new variations
- Select best result as new reference
- Repeat until satisfied
8.3 Maintaining Style Consistency
Consistency Flow:
- Generate and perfect one reference image
- Add it as a reference for all similar shots
- Generate images for each shot using the same reference
- Apply results to maintain visual coherence
9. Pro Tips
- Start broad, then refine: Begin with general prompts, then add specific details
- Build a reference library: Save successful images for future projects
- Batch similar shots: Work on similar elements together for efficiency
- Experiment freely: Generation is fast—try multiple approaches
- Use the filter: Save time by filtering to specific element types
10. Next Steps
After completing your work in Gen Space:
- Continue to next shot: Select another shot and repeat the process
- Return to Editor: Go back to the Editor page to assemble your video
- Review in context: Check how your generated images work together in the timeline
Ready to create? Gen Space gives you the power to bring your creative vision to life with AI-assisted image generation. Start experimenting and discover what’s possible!